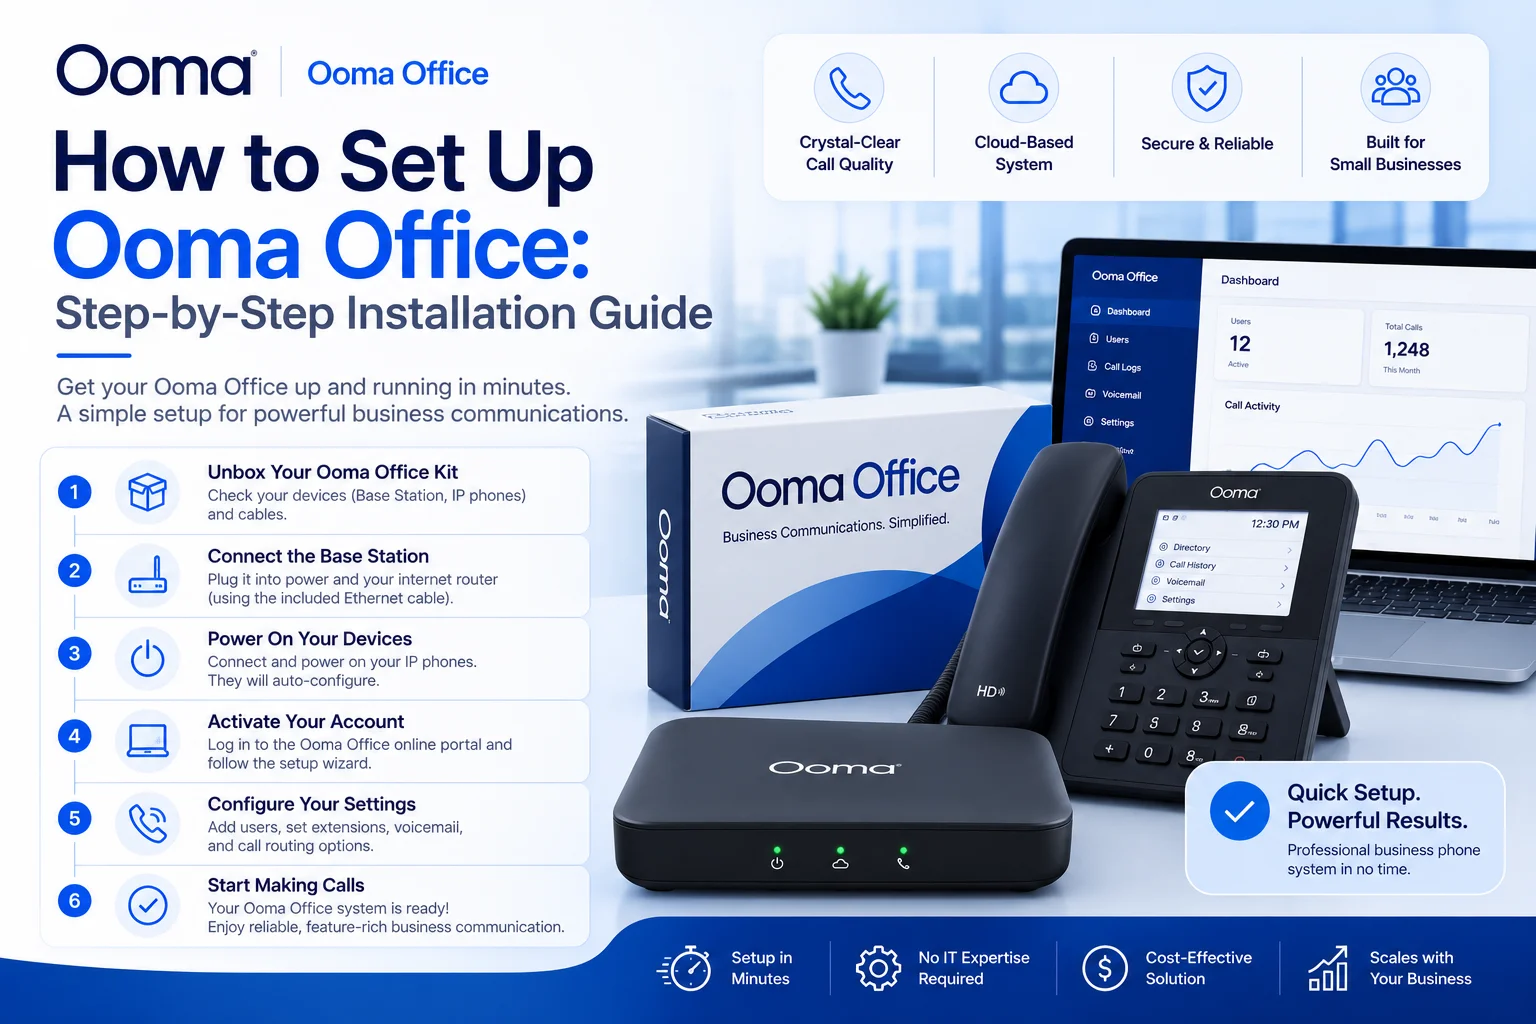
How to Set Up Ooma Office: Complete Step-by-Step Installation Guide (2026)
Quick answer: Setting up Ooma Office takes under 30 minutes. Activate your account online at office.ooma.com/activate using the 7-digit code on the Base Station, connect the Base Station to your router via Ethernet, power it on, connect your phones, then verify everything works from the Office Manager portal. Full step-by-step instructions below.
Most small business phone systems either require a technician on-site or come with setup documentation written for IT departments. Ooma Office was designed for neither of those scenarios. It's one of the few business VoIP systems you can genuinely configure yourself — no vendor visit, no port programming, no command-line configuration.
This guide walks through the entire installation process in plain language: account activation, Base Station network setup, phone connections (analog, wireless Linx, and IP desk phones), and the initial configuration checks that confirm everything is working. We've also included the current Ooma Office pricing plans, the new AI features added in 2025–2026 that most setup guides don't mention, and a troubleshooting section that covers the issues users actually run into.
What Is Ooma Office? A Quick Overview Before You Start
Ooma Office is a cloud-hosted VoIP phone system built for small and medium businesses — typically teams of 1 to 50 employees. Unlike traditional PBX systems that require on-premises hardware and ongoing maintenance, Ooma Office routes all calls through the internet via a compact Base Station that connects to your existing broadband.
The platform offers enterprise-grade features including a virtual receptionist, ring groups, call recording, and mobile apps at competitive pricing starting at $19.95 per user monthly. With no long-term contracts required, free number porting, and included features like voicemail transcription and conference bridging, Ooma Office provides a cost-effective alternative to traditional phone systems.
Each account supports up to 20 users, each with their own 3-digit extension, personal voicemail, and the ability to ring on multiple devices simultaneously — desk phone, mobile app, or softphone.
Current Ooma Office Plans (2026)
Ooma's Office plans start at $19.95 per user per month for Essentials, $24.95 for Pro, and $29.95 for Pro Plus.
What to know about pricing before you buy:
Hidden fees for additional phone numbers, international calling, and hardware can add up, making Ooma less suitable for larger enterprises or organizations needing advanced call center features.International calling outside the US, Canada, Mexico, and Puerto Rico is an add-on, not included in any base plan. If your team needs voicemail transcription, budget for the Pro tier — Essentials does not include it.
New AI Features in 2025–2026
Ooma has added a meaningful AI layer to the platform. New capabilities for Ooma Office include AI Transcriptions, AI Answering Service, AI Receptionist (beta), and AI Insights (beta). The AI Answering Service handles missed calls automatically — it can answer, take messages, and route callers without putting them in a voicemail queue. These features are available on Pro Plus and require opt-in through the Office Manager portal.
Ooma also launched a Google Chrome extension that gives users access to click-to-call, the company directory, and call history directly from any Chrome tab — useful for teams doing research or outreach in the browser. The Chrome extension cannot receive calls because it is not treated as a user device — it's a dialing and reference tool, not a softphone replacement.
What You Need Before Starting
Gather these items before beginning the installation. Missing any of them will stop the setup partway through.
In the Ooma Office box:
- Ooma Office Base Station
- Ethernet cable
- AC power adapter
You'll need separately:
- A broadband internet connection (DSL, cable, or fiber)
- A free LAN port on your router or switch
- At least one phone: analog, wireless Linx, or IP desk phone
- A computer or tablet to access the Office Manager portal
- The 7-digit activation code — printed on the label on the bottom of the Base Station
Internet speed: Plan for at least 128 kbps of upstream and downstream bandwidth per simultaneous caller in the office. Users who only use the system remotely via the mobile app don't count toward this total.For a 10-person office where 5 people might be on calls at once, that's 640 kbps dedicated to voice — well within any modern broadband connection. Stability (low jitter and packet loss) matters more than raw speed.
Step 1: Activate Your Ooma Office Account
Account activation happens online before you touch any hardware. This is important — the Base Station won't connect to Ooma's network until it's registered to an active account.
- On your computer, go to office.ooma.com/activate
- Click Activate your new account
- Enter the 7-digit activation code from the bottom of your Base Station
- Follow the wizard to: Choose your business phone number (local or toll-free)
- Enter billing information
- Register your E911 emergency address — this is required and must be a physical, dispatchable address where help could be sent
- Check your email for the activation confirmation before proceeding
If you want to keep your existing phone number: Choose a temporary Ooma number during activation and use it to get set up. Once the system is running, go to office.ooma.com/port to initiate number porting. Free number porting is included with all Ooma Office plans. The porting process typically takes 5–10 business days, during which your new Ooma number handles calls normally.
Account tip: Create your Ooma Office login credentials during activation and save them somewhere secure — you'll use the Office Manager portal regularly for configuration, adding users, and running reports.
Step 2: Connect the Base Station to Your Network
Once your account is active, connect the Base Station hardware.
Standard connection (quickest):
- Place the Base Station near your router or network switch
- Connect an Ethernet cable from the TO INTERNET port on the Base Station to a free LAN port on your router
- Confirm the router port LED lights up, indicating a live connection
For optimal call quality — place the Base Station between your modem and router:
This allows the Base Station to prioritize voice packets over other Internet traffic. Here's how:
- Unplug the Ethernet cable that currently runs from your modem to your router
- Connect that cable into the Base Station's TO INTERNET port
- Run a new Ethernet cable from the Base Station's LOCAL NETWORK port to your router's WAN port
- Reboot your modem and router so they recognize the new configuration
This setup gives the Base Station first access to your internet connection, allowing it to prioritize call traffic automatically during periods of heavy network use.
If you can't place the Base Station between modem and router, the standard behind-the-router connection works fine in most cases. Enable Quality of Service (QoS) on your router and give priority to UDP traffic on ports 5060–5061 (SIP) and 10000–20000 (RTP audio) to compensate.
Port reference: For networks with strict firewalls, ensure these ports are open: UDP 5060–5061 (SIP signaling) and UDP 10000–20000 (RTP media). Most home and small business routers work without changes; corporate firewalls often need these rules added explicitly.
Step 3: Power On the Base Station and Wait for Boot
- Plug the AC adapter into the POWER port on the back of the Base Station
- Plug the other end into a wall outlet
- Watch the status LED on the front of the Base Station
If your device requires a software upgrade, it may take 10–30 minutes to boot up the first time you plug it in. This is normal. Do not unplug the Base Station while it is upgrading. It will automatically reboot after the upgrade is complete.
Once the LED is solid blue, the Base Station is connected to Ooma's network and ready to route calls.
Step 4: Connect Your Phones and Devices
How you add phones depends on the type of device. Work through whichever applies to your setup.
Analog Phones (Corded or Cordless)
Using your existing phone cable, plug your analog phone into the PHONE port of the Base Station. If you are using a cordless phone, connect the cordless phone base unit to the PHONE port.
Lift the handset after connecting — you should hear dial tone within a few minutes of the Base Station reaching solid blue status. If you're connecting a cordless phone system with multiple handsets, connect only the base unit to the PHONE port; the satellite handsets pair wirelessly to the base unit as they normally would.
Fax machines: Connect a fax machine to the PHONE port the same way as an analog phone. Ooma is one of the few VoIP providers that supports analog fax without a separate adapter. If both a fax machine and an analog phone need to share the system, use a Linx adapter for the second device.
Ooma Linx Wireless Adapters (Analog Phones in Other Rooms)
The Linx lets you connect an analog phone anywhere in your building without running new cable — it transmits wirelessly back to the Base Station.
- Plug the analog phone into the Linx's PHONE port using a standard phone cable
- Plug the Linx into a wall power outlet in the room where the phone will be used
- Press and hold the PAIR button on the Linx until the LED blinks
- Press the PAGE button on the Base Station
- Both LEDs will flash blue briefly when pairing is complete — the phone attached to the Linx is now a registered extension
Up to four Linx devices can be paired with each Base Station. Each Linx is assigned its own extension in the Office Manager portal.
Ooma DP1 DECT Cordless Phones
DP1 phones pair directly to the Base Station over the DECT wireless protocol — no Linx adapter needed.
- Place the DP1 near the Base Station during initial pairing
- The DP1's pairing button will flash — follow the on-screen pairing prompt
- Press PAGE on the Base Station to initiate pairing
- Once paired, the phone can be moved anywhere within range and will ring when its assigned extension is called
IP/SIP Desk Phones (Yealink, Grandstream, and Others)
For hardware IP phones that connect via Ethernet:
- Log in to the Office Manager portal at office.ooma.com
- Navigate to Users & Devices → Add Device
- Enter the phone's MAC address (printed on the label on the bottom or back of the phone)
- Assign the device to a user and extension
- Connect the phone's internet port to your network switch or router with an Ethernet cable
- Connect power (or use a PoE-capable switch to power the phone over Ethernet)
- The phone will start up and autoprovision — it will pull its configuration from Ooma's servers automatically
When the phone displays the user's name and extension number on screen, it's registered and ready for calls. No manual SIP configuration is required for Ooma-certified devices.
Step 5: Configure Your System in the Office Manager Portal
With hardware connected, log in to office.ooma.com to verify your setup and configure your call handling.
Verify Extensions and Devices
Under Users & Devices, confirm that each connected phone (Base Station PHONE port, Linx, DP1, or IP phone) appears with the correct user assignment and extension number. If a device is missing, check that it's paired or provisioned and that the Base Station is showing solid blue.
Set Up the Virtual Receptionist
Ooma's virtual receptionist is your auto-attendant — the system that greets callers and routes them to the right person or department. Under Virtual Receptionist:
- Record or upload a greeting ("Thank you for calling [Business Name]. Press 1 for Sales, 2 for Support...")
- Map each keypress to an extension, ring group, or voicemail
- Set separate greetings for business hours and after-hours
- Configure what happens when no one answers (forward to voicemail, another extension, or the mobile app)
This is worth getting right during setup. A clear, professional virtual receptionist is the first thing new customers hear.
Create Ring Groups
Ring groups let multiple extensions ring simultaneously when a specific number is called — useful for teams where any available member can handle incoming calls. Under Ring Groups, create groups for departments (Sales, Support, Billing) and assign the relevant extensions.
Configure Voicemail
Each user's voicemail is managed individually in the Office Manager. Users can set a personal greeting, choose email-to-voicemail notifications, and access messages from the Ooma app. Voicemail transcription is included in Ooma Office Pro — if you're on Essentials and find yourself spending time listening to voicemails, upgrading to Pro for this feature alone is often worth the extra $5/month.
Download the Ooma Office Mobile App
Install the Ooma Office mobile app on iOS or Android for every user who needs to take business calls on their cell phone. The mobile app operates as a full extension — it rings alongside the desk phone, can make outbound calls showing the business number as the caller ID, and works over Wi-Fi or cellular data.
Users can also access Ooma Office features through the Google Chrome extension, including click-to-call, the company directory, and shared speed dial — useful for outbound calling from a web browser.
Step 6: Make Test Calls and Verify Everything Works
Before going live, run through these checks:
- External inbound call — Call your Ooma number from a cell phone. Confirm it rings at the right extensions and the virtual receptionist greeting plays correctly
- External outbound call — Pick up an analog or desk phone and dial an external number. Confirm audio quality is clear in both directions
- Internal extension call — Dial another extension from a desk phone. Confirm it rings and connects
- Voicemail — Call your extension, let it go to voicemail, leave a message, then dial *98 to retrieve it
- Mobile app — Call your extension from an external phone while the Ooma mobile app is open. Confirm it rings on the app
- Fax (if applicable) — Send a test fax to confirm the fax machine connected to the PHONE port is receiving correctly
If all six checks pass, your Ooma Office system is fully operational.
Troubleshooting Common Ooma Office Setup Issues
Base Station Stuck on Blinking Amber
A prolonged blinking amber LED after the initial boot period (beyond 30 minutes) indicates the Base Station can't reach Ooma's network.
- Verify the Ethernet cable is firmly seated in both the Base Station's TO INTERNET port and the router's LAN port
- Try a different Ethernet cable — a faulty cable is a surprisingly common culprit
- Try a different port on the router
- Confirm your internet connection is working by plugging a laptop into the same router port
- Check that your Ooma account activation at office.ooma.com/activate is complete — the Base Station can't register to an unactivated account
- Power cycle in this order: unplug the Base Station, then restart your modem and router, wait 2 minutes, then plug in the Base Station again
You can also test Base Station connectivity by plugging a laptop into the LOCAL NETWORK port on the Base Station and navigating to office.ooma.com — if the portal loads, the Base Station has an internet connection and the issue is likely with account registration.
No Dial Tone on an Analog Phone
- Confirm the phone is plugged into the Base Station's PHONE port (not the LOCAL NETWORK or TO INTERNET port — they look similar)
- Verify the Base Station's status LED is solid blue, not amber
- Check that the phone itself works by testing it on a traditional phone line or confirming its internal battery isn't dead (for cordless phones)
- If using a Linx, confirm the pairing was completed successfully — the Linx LED should be solid, not blinking
IP Phone Shows "Not Registered" or a Blank Screen
- Confirm the phone's MAC address was entered correctly in Office Manager → Users & Devices
- Verify the phone is connected to the network (Ethernet link light should be on)
- Ensure the phone has power — either plugged in directly or via a PoE switch port
- Restart the phone — it will re-attempt autoprovisioning on reboot
- If the phone still won't register, confirm your network doesn't block outbound connections on SIP ports (UDP 5060–5061)
Poor Call Quality (Choppy Audio or Echo)
- Place the Base Station between the modem and router as described in Step 2 — this is the highest-impact change for call quality
- Switch from Wi-Fi to wired Ethernet for the Base Station if you've placed it wirelessly
- Enable QoS on your router to prioritize voice traffic
- Close bandwidth-heavy applications (video streaming, large file syncs) during calls
- If using a cordless phone, move it closer to its base unit — DECT range degrades at distance and through walls
Linx Won't Pair
- The Linx and Base Station must be within wireless range during pairing — keep them within 30 feet initially
- Press and hold the Linx PAIR button until the LED blinks, then press PAGE on the Base Station within 30 seconds
- Ensure you haven't exceeded the 4-Linx-per-Base-Station limit
- Factory reset the Linx by holding the PAIR button for 10+ seconds, then re-attempt pairing